Restorative Yoga’s Benefits & Poses To Try Part 2
This is the second part of a two-part series on the benefits of restorative yoga. In this part, we will discuss the best poses to try.
Because of the slow pace of restorative yoga, it is an excellent yoga practice for beginners. It doesn’t take learning any predetermined sequences and is even beneficial for people who may not have worked out before or don’t consider themselves flexible.
It’s best to attend a class led by instructors or follow a guided video. However, in this article, we will break down some of the most common poses and how you can ease into them at home.

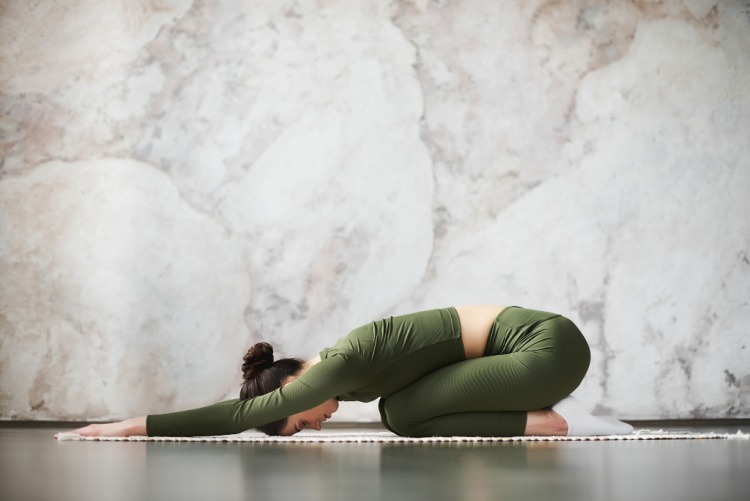
Child’s Pose
Suggested props: 1 bolster or 2 folded blankets
Sit on your heels with your knees bent about mid-distance apart. Gently lean forward until your belly rests comfortably between your thighs. You may place a bolster or folded blankets between your thighs for extra support.
To get the most out of this pose, try to lay your forehead on the bolster while you extend your arms straight out in front of you. You can also rest your arms next to your body.
Breathe deeply and try to relax as much as possible while you hold this pose for 5-10 minutes.
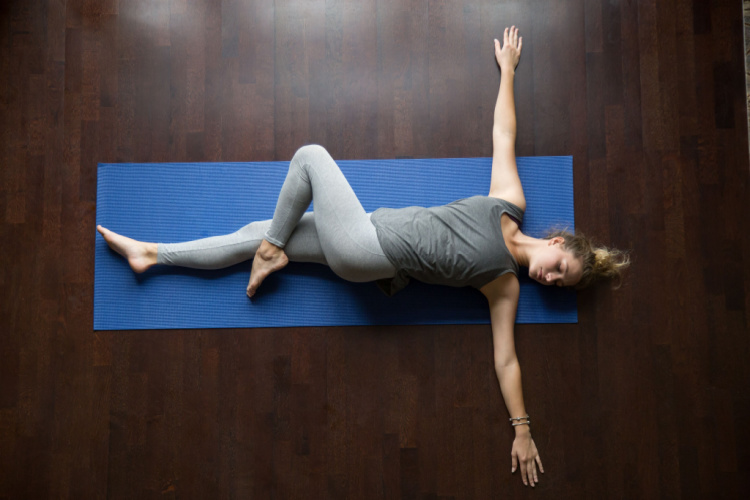
Supine Spinal Twist
Suggested props: 2 bolsters or folded blankets
Lying down on your back, pull your right knee up to your chest. Then place your left hand on your right knee and pull the knee up and over the opposite side of the body. Gently twist through your torso while trying to keep both shoulders on the mat.
You can place a bolster (or two) under the lifted knee if it helps you feel more comfortable. Breathe deeply and hold for about five minutes before switching to the other side.
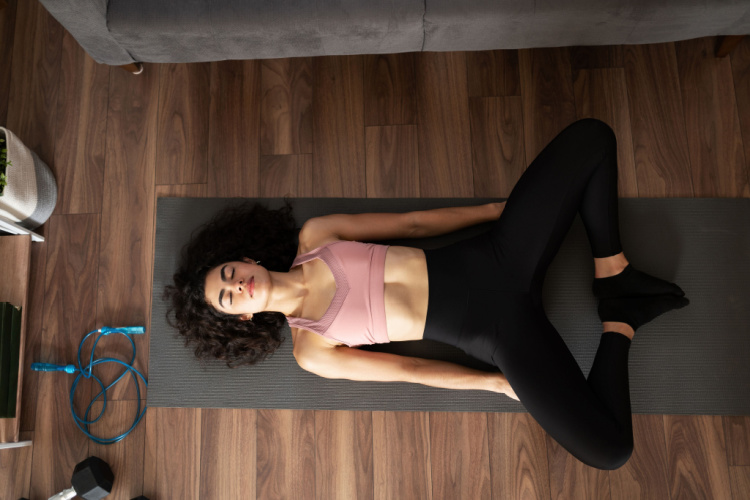
Reclining Bound Angle Pose
Suggest props: 3 blankets or 1 large bolster, 2 blocks, 1 strap
Start by placing a block at its medium height at the top of the mat. Then place another one at its lowest height below it. Lay your bolster lengthwise over both of the blocks and place a folded blanket at the top of the bolster.
Next, create a loop with your strap. Step your feet into the center of the loop and hold the straps in your hands. Bring both of the soles of your feet together and open your knees.
Place rolled blankets underneath the outside of your legs for support and then let your hips open. Gently lower your spine onto the bolster and let your head rest back on the block and blankets.
Breathe deep and relax your shoulder blades as you hold this pose for 3-5 minutes.
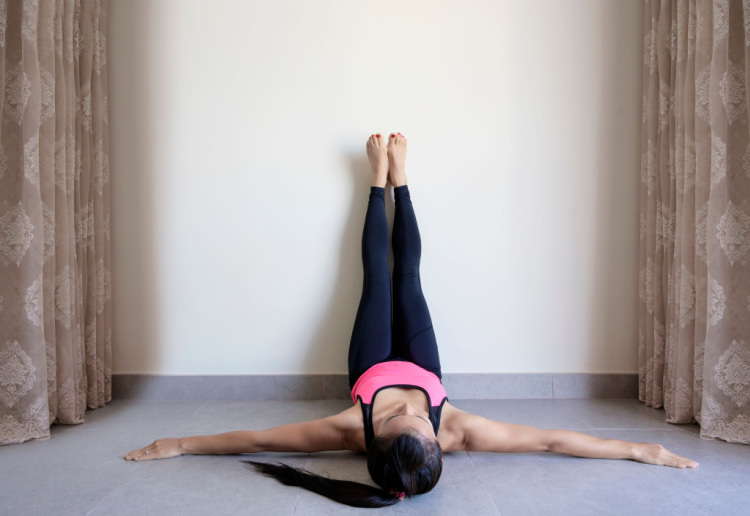
Legs Up The Wall
Suggested props: 1 blanket
Lie down on your mat facing toward a wall. Keep your hips about 6 inches away from the wall. Then lift your legs up onto the wall. Keep your head and shoulders flat on the mat.
Allow your feet to rest against the wall as your belly and legs release. You can place a blanket under your hips for extra support. Hold this for 5-10 minutes.
Restorative Yoga Tips And Tricks
To get the best out of each practice, here are some simple but effective tips and tricks you can use to increase the benefits you receive from restorative yoga.
● Find a quiet spot, preferably dimly lit that is free of clutter and distractions to practice.
● If you are practicing in the evening, consider using an eye mask or eye pillow to cover your eyes.
● Wear comfortable clothes. Make sure that you are not dressed too warmly or that you are not too cold. Remember that you may be under blankets at times which can help you stay warm.
● A weighted blanket over your chest or torso may be a great way to help you feel safe and grounded.
● Breathe deeply through your belly and imagine yourself letting go and experiencing healing.
● Aim to practice anywhere from 15 to 60 minutes. If you are practicing alone, you can set a timer that will help you unwind without falling asleep.
● Enjoy your time and let your mind relax.